Saturday 25 February 2012

Under the Pump - time for a test

So this was the weekend i was to do my first test. All i was waiting on was a piece of perspex for the top to replace the coreflute and off we go. Well again the perspex didn't materialise, again let down by someone else (but hey it's free).
Oh well what to do, i thought nah bugger it im still doing the test. Then the weather kicked in 38deg c one day and the same the next.

My wife went to spotlight to grab some nylon material for the graphics, bought the one we saw the week before. I had all the resin and catalyst, the pump was finished, although no gauge yet and all the glass and plastic had been cut.
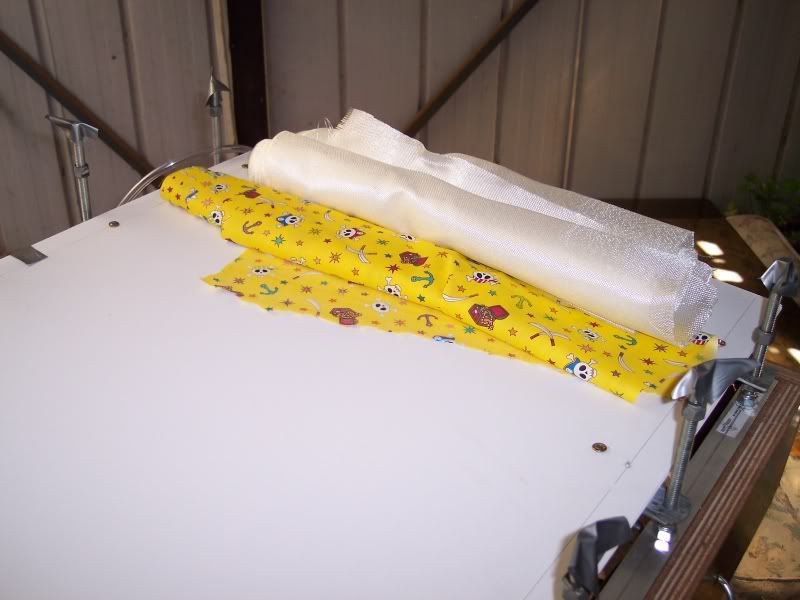
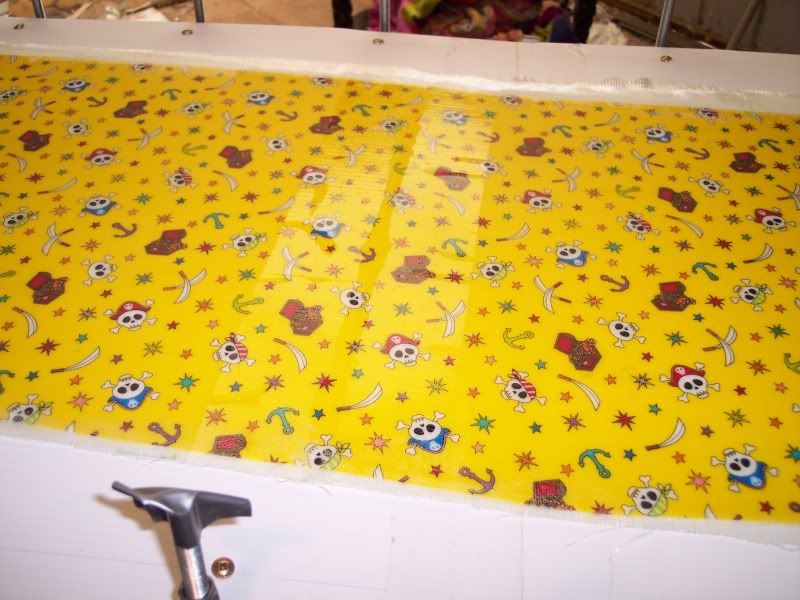
Nice bright yellow material in a pirate theme.


I saw a video from foamnfibr on youtube where he used pvc sheet for the top of his board with cotton and no breather or peel ply at all. So with not having that stuff yet i decided this was the way i was going to do it.
 I didn't have a board cut out of foam or ply yet so this test was to see if i could make a top sheet.

So, with a top temp of 38 there was no way on earth i was going to try to do this on Saturday. Sunday morning came and it was around 630 am and about 20 degrees c. Yep its time.

So out to the garage i went and started to set things up. Oh before i go any further i decided to run two vacuum tubes from the table to the pump, why? who knows but here is how i set up the "T" piece. A brass tee with brass nipples. The 6mm tube didn't fit over it , i used some bigger tube, coated the edges with silicone and the same on the smaller tube and pushed it in to each blue tail till it stopped. I tested the seal and it worked great, no leaks anywhere in the whole system.
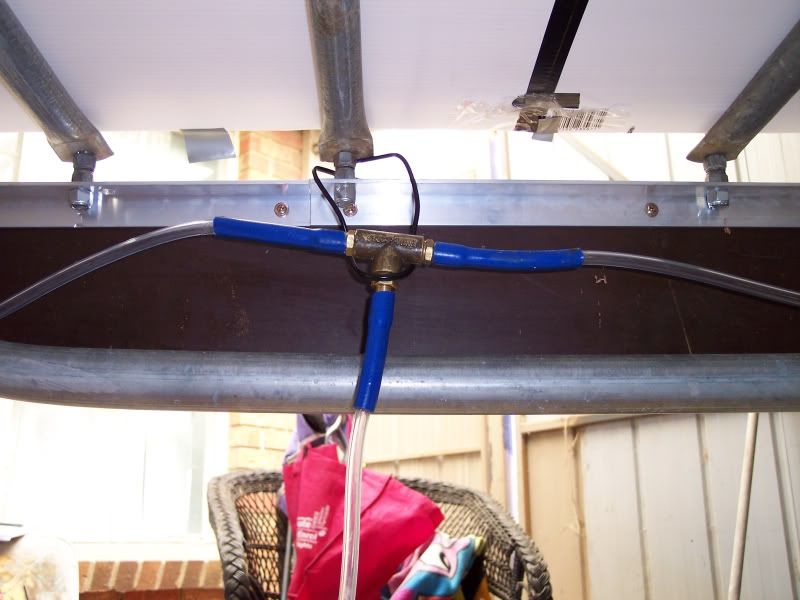
"T" piece....
I have to say i was very nervous just before i was about to do this. But the one thing that doesn't scare me is fiber glassing. In the past i have re floored boats including mine, made a stitch and glue kayak and other laminated stuff with filler mixes and glue mixes. but every other time i had made stuff i had mixed with my own measurements, not very structured. This time i was going to use the correct amounts. I found a chart on the web whilst searching numerous sites , it shows the correct mix of resin and catalyst per volume. Good stuff.


Catalyst User Guide

I printed this out and used the exact amounts specified on it.
I poured out 250 grams of resin and put 3.8 mls of catalyst in the syringe as specified on the sheet.
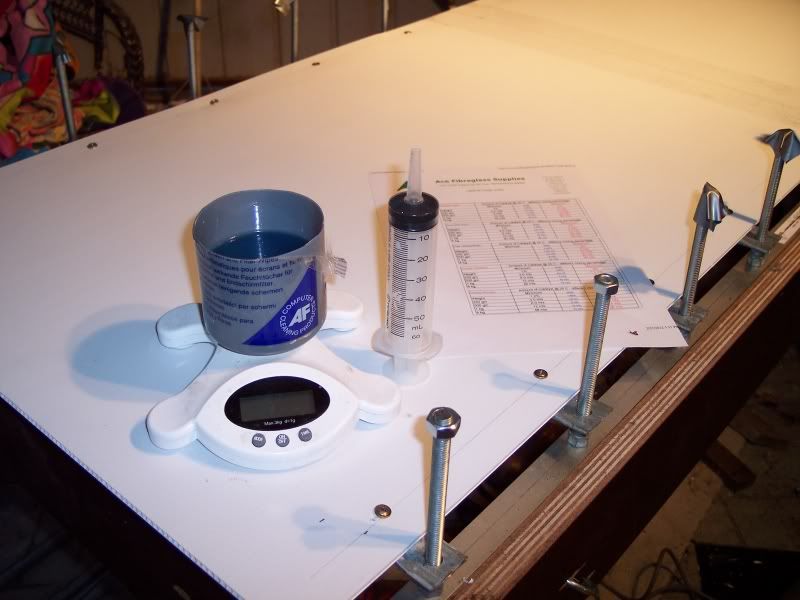
scales turned themselves off, 250 grams + 3.8mls = sheet
Ok so here we go.
I laid out the first sheet of glass (cant remember the weight) and proceeded to pour about half the resin on.
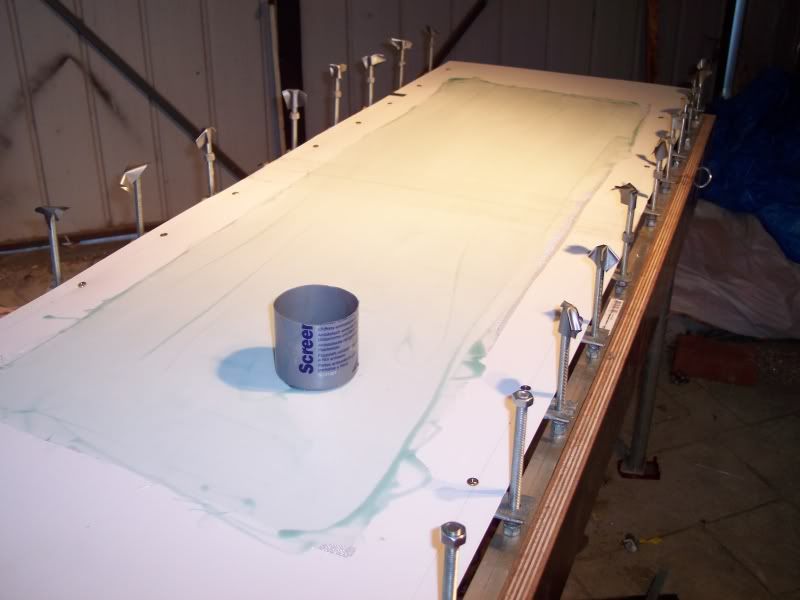
glass wetted out....7am...
So i wet the glass out. Above is the first layer wet out. I used an old credit card to do the resin spreading. In the past i have used rollers, foam brushes etc and i found the card especially for this job ( plastic scraper ) to be far and away the best, both for control of the resin and for getting it into the cloth evenly.
I didn't put down a resin layer before the cloth went down. This wasn't about getting a wiz bang finish, it was about getting things ironed out and getting confidant in the processes i would use in the future.
I was pretty happy with the first layer, a lot easier than i expected to be honest. 
In time it is about 20 minutes into the job.
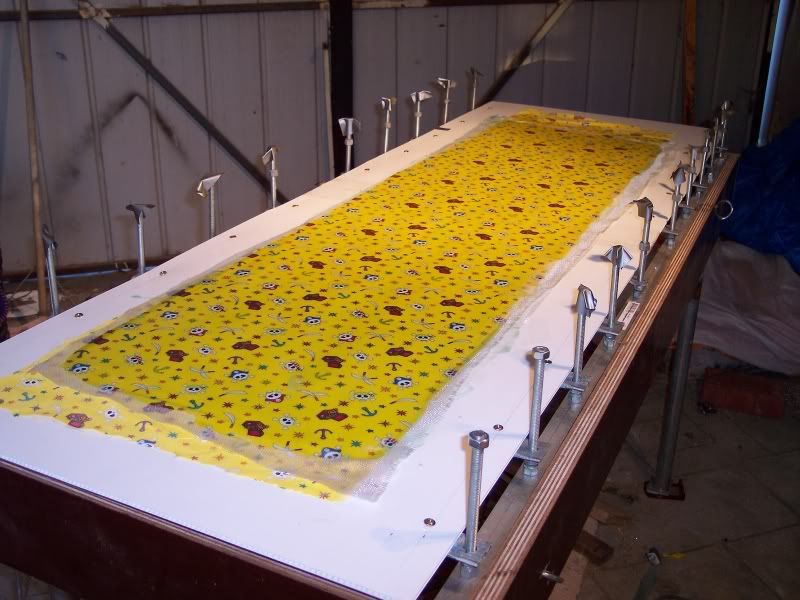
cotton down and glass over the top
So down went the cotton. I used the scraper to spread it out to get rid of any creases ( not a lot of resin wicked through ( hmm a bit dry?). I laid down the last sheet of glass and poured the rest of the resin over it. I used the card again to spread the resin and found that the cotton had soaked up a bit more than i thought. I mixed up another 50grams and added some well measured ( guessed) out catalyst, about 1.5 mls. Geez id never used that little of that in my life. I spread it over the matting and made sure it was all wet. Above is the three layers before the plastic went over the top.

Ok time for the pvc. I rolled it out and realised that i had cut it too short, ahh crap. Oh well , i cut another piece and taped them across the far end. I then proceeded to tape the rest of the plastic down. The tape i used was normal duct tape.
I used some putty i had laying around to seal the tubes in each end and placed a piece of old cloth over each hose inlet under the plastic.
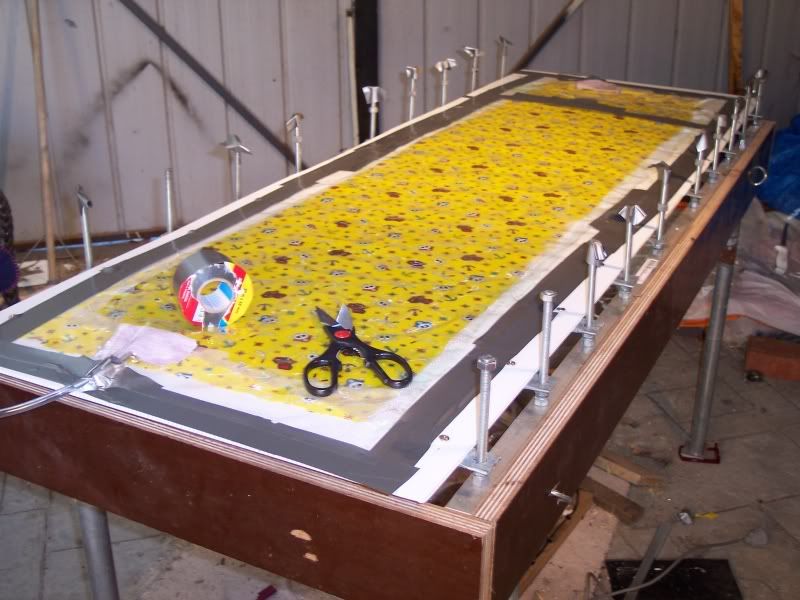
Sealed down, almost.....

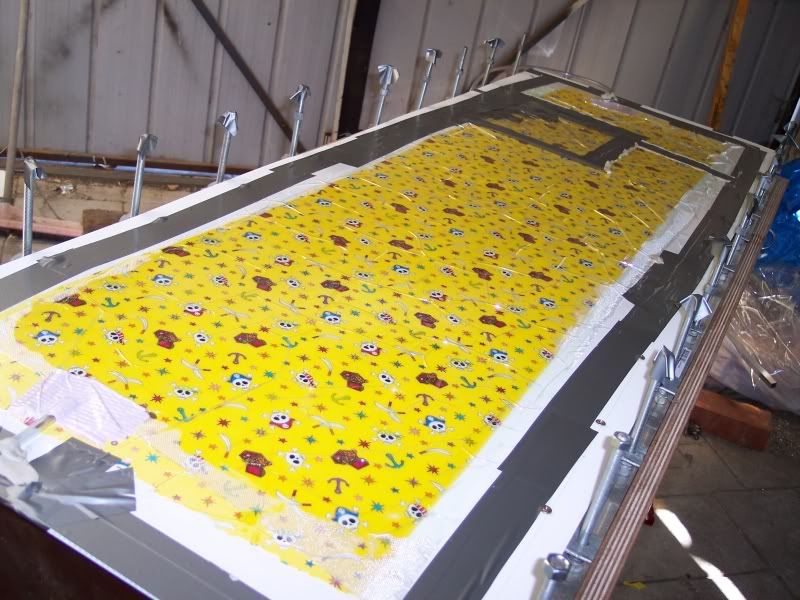
The big test was here. I was about 35 to 40 minutes into it, pretty good i reckon for the first time i had done this. The pump started and the pvc began to pull down. I had a leak around each hose  either end. I mucked about and sealed those down without many worries. The close end in the picture really pulled down well so much so that you could see where it edged around the cotton, the other, not so .
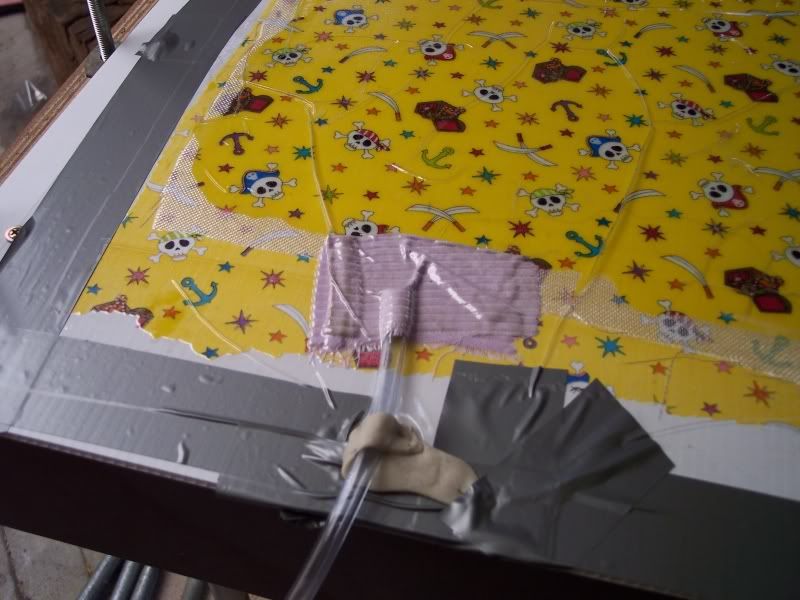
plastic pulled down around cotton edge, now that's a seal!!

Where i had joined the two pieces of plastic wasn't air tight, so i fooled around for about 15 minutes and got a good seal, but the far end still had a small leak somewhere that i just could not find. I put a separate patch over it and tried to seal where i heard some air.  But it was pulling down ok so i didn't worry about it too much.

The pump didn't stop at all for roughly 4 hours, i was only going to leave it all on until it cured anyway. I was happy as it was a good test for the pump too.
When i felt the edges that had some built up resin that had hardened , i thought yep that's enough of that. It wasn't going to force down any more than what it had done already. I peeled of the pvc and to my surprise it just came straight off, not tugging or forcing at all. Just a firm pull.

When it came time to lift the sheet from the table i was totally surprised that it lifted of smoothly.
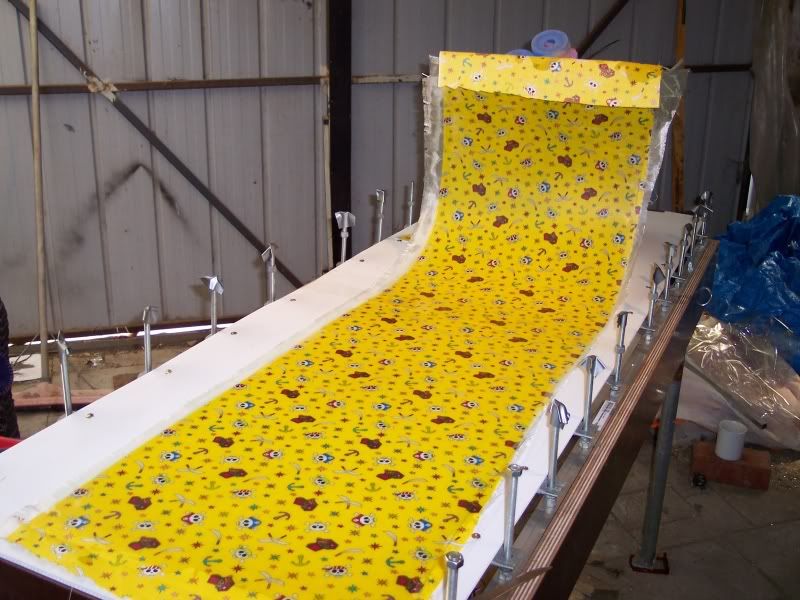
Finished sheet
Well i was pretty happy with this first time effort. The finish is a smooth mat finish with a slight rib pattern in it from the coreflute board.
ooh where did that shine come from
Where i had taped the two pieces of board together had a good shine in places. So when the perspex goes down , i have no doubt this sheet will be like glass. The sheet has a few little pock marks or voids but they are very small. There are no dry areas at all.

Soo, in the end i am very happy with how it turned out. It was a lot easier than i thought it would be to be honest. It took about 1 hour from setup to the final tape up and pump on and sucking.

There are a few things i would do different  next time, but ill leave that for another time and have a bit more of a think. But as a test and first ever time doing this , i would give it a mark of 10/10.
As a finished pre cured top sheet ( well thats what it turned out as) i would give it a 7/10

Cheers
Peter


Monday 20 February 2012

Table Top - no not dancing

This week i had all the best plans in the world.

I had my resin and matting all ready and i was hoping to be able to find a decent top to put on the table.  But as all things, the best laid plans and all that, yeah right.
I couldn't get the time to find a decent top for the table. I do have a glass sheet from and only coffee table but it wasn't long enough to make a sheet the length i wanted to.

I went to spotlight and found some PVC table cover .02 mm i think , 3m long and 1.2 wide for $17, ok i guess. They also had some cool cotton but it was either get the pvc or the cotton with pretty pictures on it. Because i didn't have the table top yet i decided on the pvc.

Right now funds are a bit tight, more so due to the reasons of buying bigger things so Ive been doing this on a shoe string budget.

A few years back i was flying remote control planes, id made a few SPAD aircraft with coreflute plastic sheet nothing sticks to it unless you flame it and score the surface then use CA glue or contact cement. So id been looking at this for the table top but there seemed to be none around locally, (within 5 kms). A product called Ampelite was an option. It's basically a very up market coreflute but for over $100 per sheet, um nup.

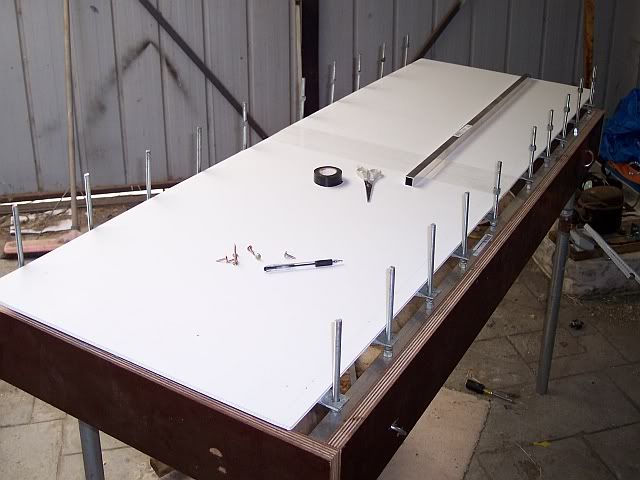
Id looked at bunnings i reckon 5 times in the last two weeks for it and today i found some. I have to thank my gorgeous wife for coming with me and helping (we were also looking at swimming pools). They had alot of 3mm sheet, but it is way to flimsy. But they did also have 5mm sheet but it was short and would need to be joined in the middle. But the perfect width and when joined the perfect length. For $7.50 each , all good.

The join you can see is contact sheet, hmm , not sure that will hold all that well but i guess we will see. I may lay the pvc sheet over it and lay up the glass on that.

Two sheets as bought, no cuts, just needed to be joined. If it works i will get a big sheet and maybe lay over the top.

Now i know this is still a bit flimsy, but it will be ok for the test, it has lines length ways along it so it will be interesting to see the pattern that comes from it. Thing is that if im to make a concave bar in the center underneath it will need to be thin, who knows , it may work.

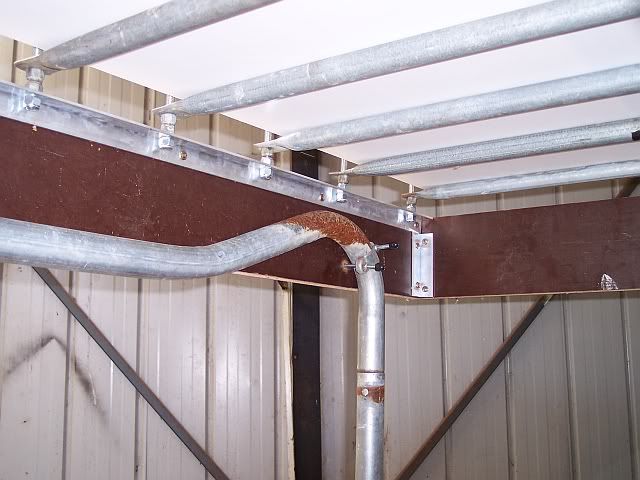
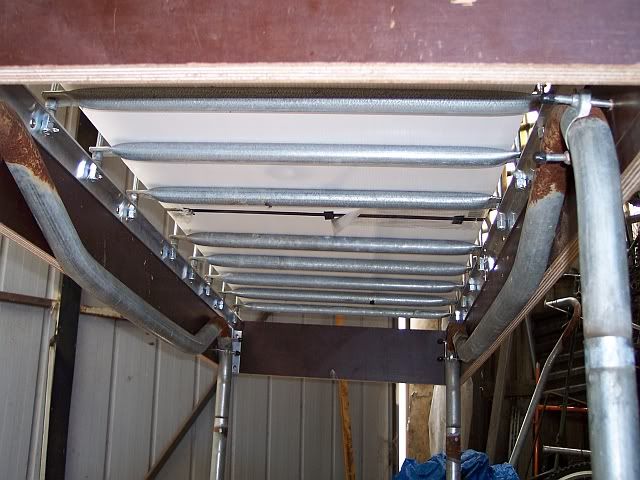
Other thing i did this week was put the legs on. I have an old trampoline that ripped a while back , i saved all the pipe frame. I used some of this to make the legs.


So that worked well. I cut down the legs and drilled a hole for them to click into the supports. All the mounting brackets are from the old trampoline too, so i didn't have to spend anything on this bit.

So what does that leave now?
Well next week i will have the cotton to use as a colour layer and i should be able to make a test sheet. Hopefully it will be good enough to keep it as a top sheet.

That's all for now.

Monday 13 February 2012

On with the Pump

Well i finished all the cross bars on the table. Had to re adjust a couple of measurements and re drill the holes, i have no idea how i got them wrong but i did.

Then it was onto the pump.
All i had was the pump itself. I had to search for a vacuum unit from a carby to act as a switch activator. I looked on the net for "proper" vacuum switches, but they cost far more than a proper vacuum pump would anyway.

I ended finding one at my local mechanics ( he services my cars, an honest one too). It was from an old corolla distributor. Only worry was that the diaphragm was perished. So i grabbed it anyway, hey it was free!

I got it home and had a bit of a look. Well i ended up grinding off the lip, taking out the perished rubber and cutting a new one from some old regulators from years ago. Put in a bolt through the middle with a couple of washers and poked it out the back , siliconed it together , let it dry and mounted it. Only thing i am unsure of is whether the rubber is strong enough when the vac is turned on. I have thicker rubber so if it isn't i will rebuild it again.

 
Setting up the pump
I have set up the rebuilt advance unit with the spring tensioner plus the micro switch which will be wired in the normally closed position. I'm also setting up the junction box where the wires will be run into for the mains, switch and pump.

I finished the pump wired it up and ran it for a bit to see if the rebuilt vac switch worked , it did. I just need to get myself a gauge and run it properly to see if the diaphram works properly and it sucks the vac bag correctly.

I am hopeing to make a top sheet this weekend, some cotton would be nice to try it with . I guess a trip to the local spotlight store will be on.

Thursday 9 February 2012

This Weekend

Well, wouldnt you know it, just when you think things are going well, they turn out crappy. I was planning on doing a dry run with the new table and vacuum pump this weekend but, i have been let down by a freind that said they had the vac advance i needed (so i didnt look for one) and the vac gauge in needed ( didnt look again).
Well guess what, today i was told that he doesn't have them, WHAT THA ??!!!!!!

I was expecting , peeel ply , vac bag, connectors, hose, tape and all the other things (consumables) needed to vac bag something and well, that didnt happen either.

So im back to finishing off the table only.
But thats the way things go i guess.

I did get onto the graphics company to find out the resolution they required for the graphics (300dpi) so that was one good thing. Plus i will work on the graphics this weekend for it. I have a few ideas in mind so i should be bale to come up with something.

For example.
I know i cant laminate a clear sheet on a wooden core due to not being able to have a sublimated PBT sheet on it. So i figure i will make a fake wooden core. I will make a seamless bamboo texture as a base , then overlay other graphics on top of that.
So when it's looked at it will look like a wooden cored board. For the seamless texture i will be using Genetica , it's a really good program, and of course the old photoshop cs5. Although gimp would be just as good.
Ive been working on ideas fr it for a few nights but havent really got into the nitty gritty of making a good looking quality texture.
One idea is a texture burning back from the corner edges of the board to reveal the wood core texture with some charing.

Anyway, things will happen but  not what i expected.

cheers

Monday 6 February 2012

Started the Table

This weekend i started making my rocker table. Yes , yes i know i haven't ridden a board yet but hey, got to have something to keep the interest up don't you?

So the bill of materials is this , so far.

25mm formply cut into strips 130mm high by 1700mm x 700 mm in width
3/8' bolts ( nylocs, yuk)
3/8' all thread rod cut into 150mm long pieces for risers
25 x 25mm alloy angle 2.4 m
cross bars are  TV antennae support bars x10 cut to suit.
Self tapper screws for corner angle 15mm

  
Screwing the 25 x25 angle onto the sides 
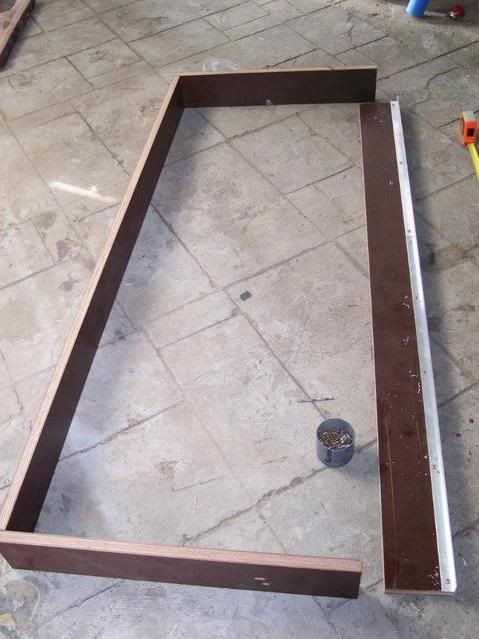
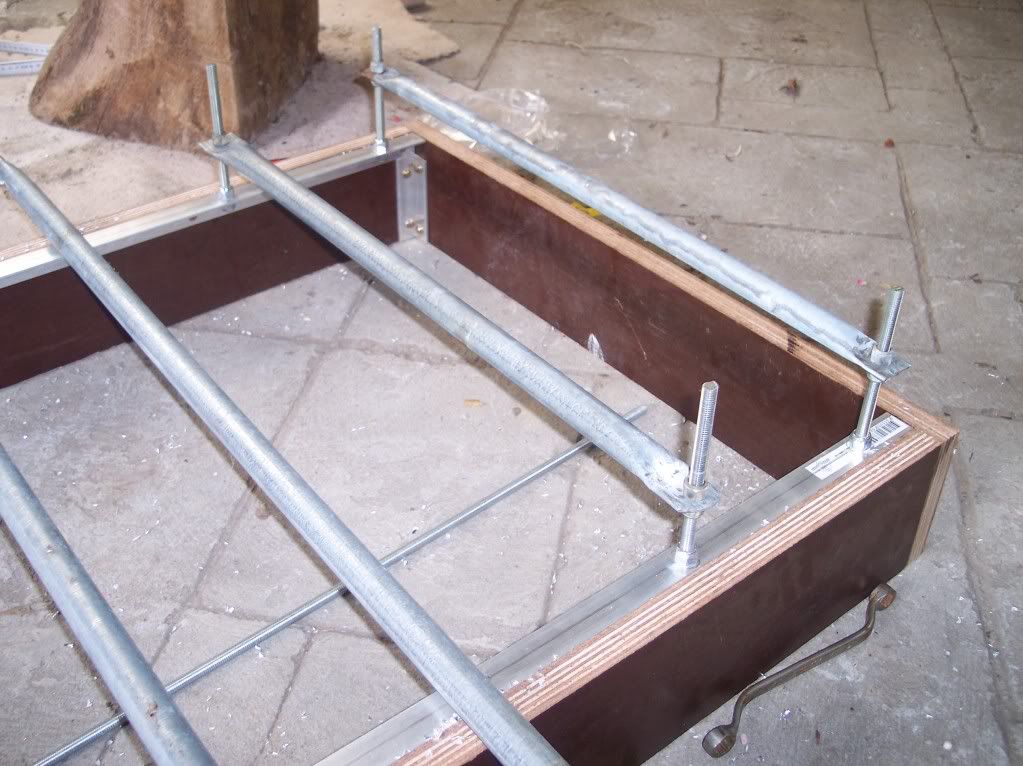
  I cut the angle to length , 1700mm. I made a bit of an error when buying it i only got it in 1200 lengths. I had to join it just off center. I could have bought a 2.4 mtr single length for the two sides. I matched it up at each end and made sure it was flush with the top edge , pre drilled the screw holes and then screwed each side down. I don't think it needs to be  bullet proof as glass/carbon isn't all that heavy.

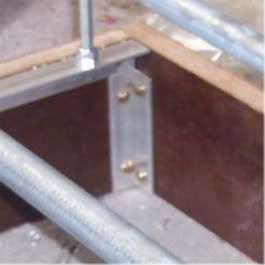
Once i had done both sides , i cut angle to go from the bottom of the top rail to the base of the board to join the corners. I think though i will put 50 x50 alloy angle in there and on the outside corners.
corner bracket

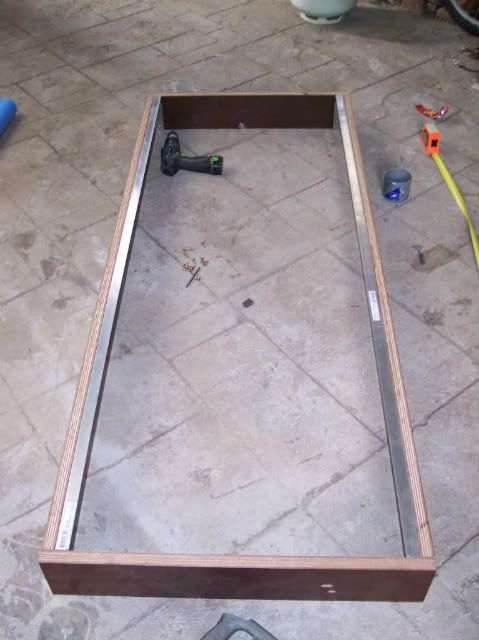
The two side rails screwed on and the boards joined together at the corners.
rails on


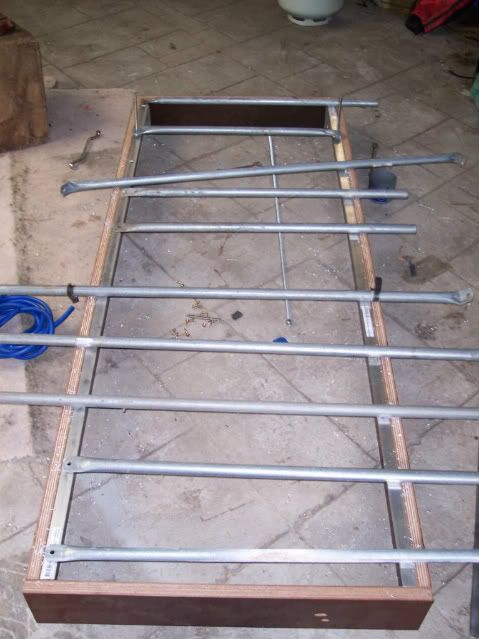
Next i drilled all the holes for the table support bars to go into they were just evenly spaced from the center mark. Although that is where i have made a bigger gap between those two. I bolted two on to check  how they worked and looked and then spaced out the other bars before measuring and cutting them. With the bars i cut them to the right length and then smashed the crap out of the end to flatten them and then drilled a hole in it. The other end has a pre drilled hole already.

Setting out the cross bars

Setting up the support/ rocker adjusters.
testing the adjustment screws
I could only find 3/8" nyloc nuts , no matter where i looked there were damn nylocs , damn Bunnings. I had the uprights cut to 150mm. I was going to go for 100mm but changed my mind for some reason. I screwd a nyloc on the bottom of each thread pushed it through the hole and screwed down another nut to the rail to firmly hold it in place.


Then i screwed another nut on by geez, damn nyloc's again , hard thing to do . Also with this being the nut to be able to adjust the height of the rocker they needed to be free screwing. What i did was get my gas torch and burn out the nylon ring. When the torch ran out (ooo bugger) i fired up the BBQ and put the nuts on the burner and yes , well done nylocs, but now only with the locs bit left.
They screw up and down nicely now and is really easy to adjust the height of the cross bars.


So right now i have most of the cross bars on. I ran out of bolts and thread.

Right now i haven't thought of what to use for the table top yet. I want it thin enough to put the concave bar in and for it to be able to change the shape without to much force but not have it too thin that it will have waves in it between the bars when the rocker is put in.

I will update this post when i get more work done on it..